<prev Roll
Bar
Main Pads
Fitment Weld Paint
Install next>
Pads
You cannot just weld or bolt a roll bar tube directly to the car's
floorpan. If the car rolled over, it would punch right through the
floor of the car and not be very useful. You are supposed to put the
ends of roll bar tubes onto pads. Roll Bar
Main shows all the rules I needed to follow. A quick summary is I
needed 22 inches of perimeter (3x8 pads would have 22 inches of
perimeter), they needed to be 1/4 inch thick, and I needed a pad above
and below the floorpan. I also needed to bolt the cage in through the
pads.
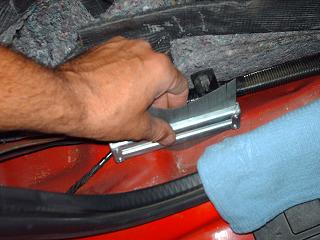
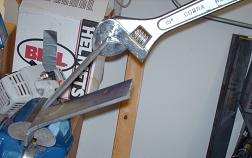
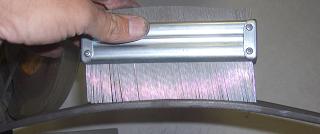
The "bed of nails" was used to measure the contour of the car's door
sill.
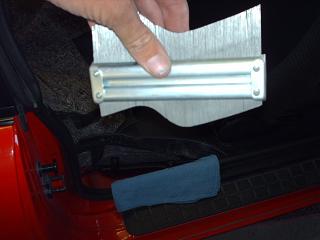
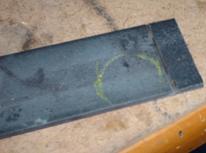
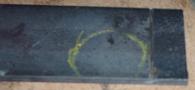
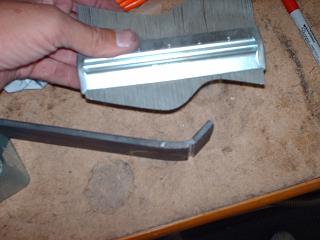
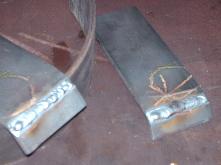
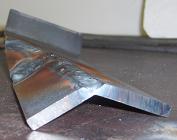
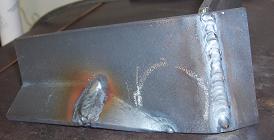
Here is a 1/4x3x8 inch piece of mild steel. It is a little bit hard to
see, but you can see I scored the end of the slab 1/2 way through with
my circular saw with a steel cutting wheel in it.
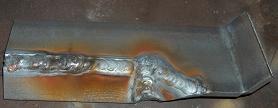
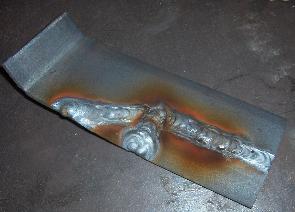
The metal was put in a vice and bent at the score to the appropriate
angle.
The angle of the bend was regularly checked with the bed-of-nails.
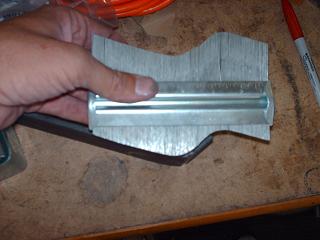
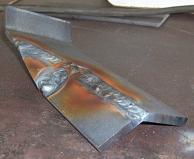
Other cuts and bends were made to follow the contour of the car. The
scca rules encourage some vertical components to the pads.
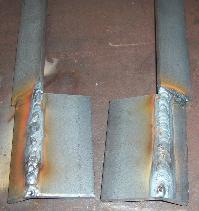
All the scores and bends were filled in with the TIG welder.
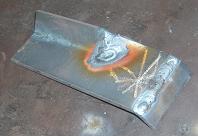
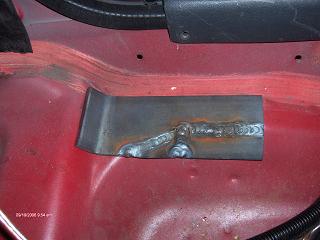
This shows where the door sill pads will go. I was happy they fit the
contour of the car so well. The location is just behind the front seats
by the door.

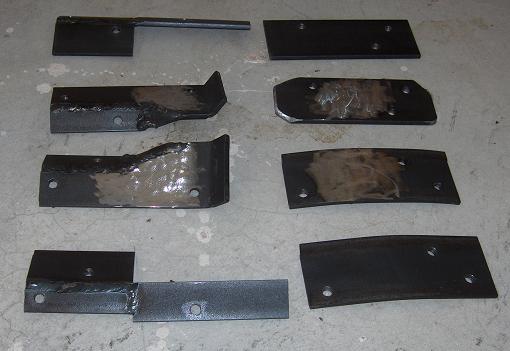
Underneath these pads, on the bottom side of the car, pads were needed,
too. The floor of the car is sandwiched between the pads.

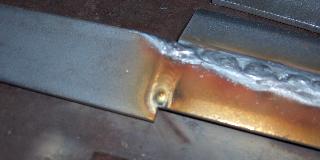
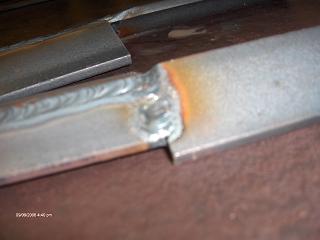
The contour of the car is a bit different underneath, so these pads are
different from the topside pads.
Group photos of all the pads. The shinier areas were due to being
cleaned up with a die grinder, for a fresh clean surface for welding
the tubes to the pads.
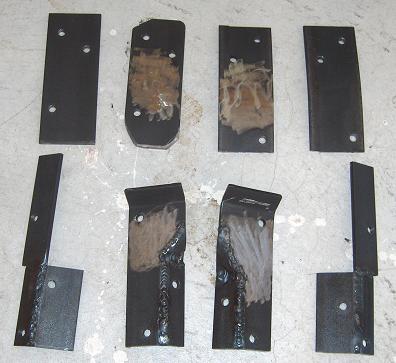
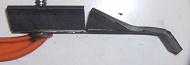
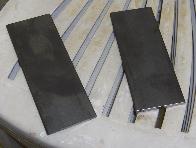
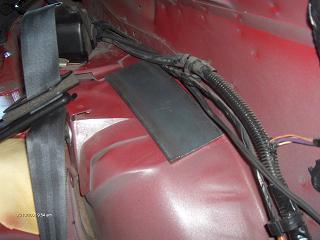
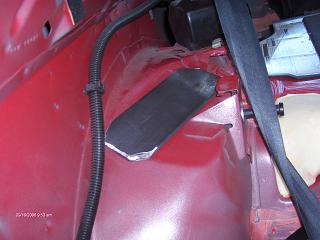
The pads that went on the rear fenderwells had an unusual feature. The
right side fenderwell was flat, but the left side one was curved. The
right side (relative to sitting in the driver's seat) top pad
needed the corners notched a bit for clearance with the seat belt
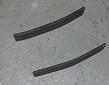
anchor and seatback latch. These are 1/4x3x8 inch pieces.
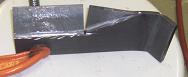
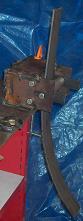
To curve the left side pads, I used a ring
roller I built. The bed-of-nails was used to check when the
curvature was correct. Most 4th gen Camaro roll bar installations put
the pads further back where the metal is flat, and wouldn't need this
step.


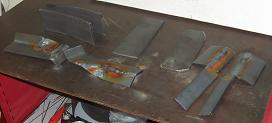
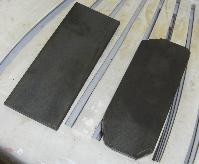
Here is a test fit for the rear fenderwell pads. These are the rear
fender wells beside the rear seatback. Note the left side one is
slightly curved and the right side one is flat.
Keywords: Camaro, Firebird, LT1, LS1, autocross, road racing, SCCA,
NHRA, drag racing, safety, roll bar, welding, racing rules
<prev Roll
Bar
Main Pads
Fitment Weld Paint
Install next>