Motor Adapter
The adapter connects the electric motor to the old gas car
transmission. My adapter has these missions:
- Provide a place to attach the electric motor
- Resist the torque from the electric motor
- Provide protection from shrapnel from an exploding clutch or
flywheel
That last bullet is generally not considered on street vehicles, but is
a requirement for some types of racing.
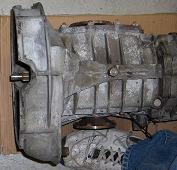
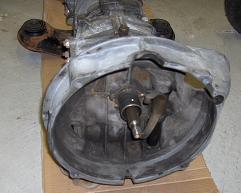
Here are a few pictures of the motor and tranny that need to be
coupled together with the adapter.
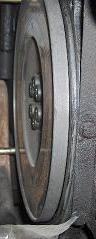
This is the original motor's flywheel. Note it is dished into the
motor, and is not flat.
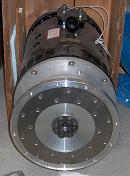
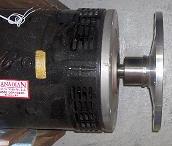
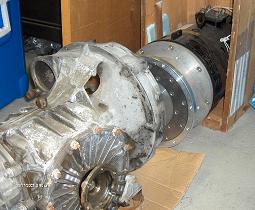
The 2nd picture is a nice shot of the taperlock coupler I bought from http://www.electroauto.com. It
shows how the flywheel sticks out a fair distance from the motor. Since
the flywheel is dished and the transmission pilot shaft goes pretty
deep into the flywheel, it would be tough to get it much closer and
keep the stock electric motor shaft, stock flywheel, and stock
transmission shaft.
So close, yet so far!
Most adapters are made from
aluminum. I am making mine from 1/4 inch
steel. There are several reasons for this choice:
- Land Speed racing rules say the clutch scatter shield has to be
made from 1/4 inch steel
- Instead of making it from 3 separate pieces, I am going to weld
it into one big structure. Steel is easier to weld than aluminum.
- Possibly lighter -- most adapters use thick and wide pieces of
aluminum to take up space, thicker than needed for strength, and wide
to allow the structure to be bolted together. Since I am welding, I can
make things thinner, and hopefully lighter.
- Steel is cheaper than aluminum
The adapter will be made from 4 main pieces:
- Electric motor plate
- Spacer (doubles as part of the scatter shield)
- Transmission plate
- Scatter shield

Exploded side view. The motor plate, spacer, transmission plate, and
scatter shield will be welded together one assembly, called the
adapter. The transmission fits inside of the scatter shield. The motor
and transmission are bolted to the adapter. The flywheel and pressure
plate are not shown.
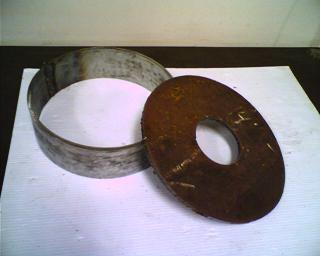
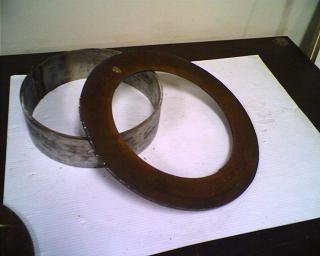
Here are a couple of pictures showing the motor plate, spacer, and
transmission plate after being rough cut:
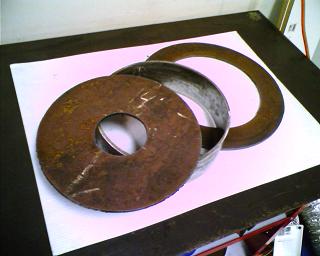
The last picture is the arrangement the finished product will have.
Some
machining and welding is needed.
Spacer
I used emachineshop for my technical drawings (http://www.emachineshop.com).
The diameter of the spacer was chosen so it would go outside the motor
mounting bolts, but fit inside the tranmission mounting bolts. Its 3
inch nominal spacing will be machined down a bit to perfectly space the
flywheel from the transmission, so the clutch will work well.

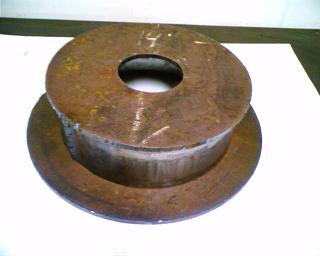
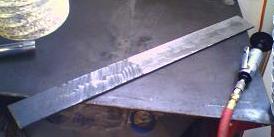
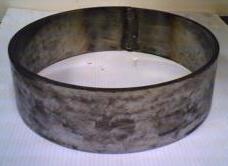
Here is the spacer before it was ring rolled:
To bend the flat strip of metal into the metal hoop, I used a ring
roller I built, http://ExplodingDinosaurs.com/9electric/ringroller/.
I had to turn the ring roller main bolt a fraction of a turn at a time,
so it took maybe 20 passes and about 1/2 hour to roll it as pictured
below:
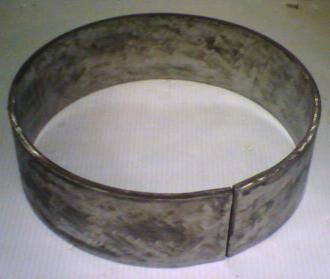
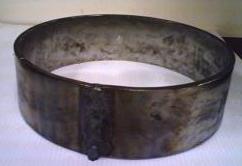
I was quite happy it came out so circular, and that the ends matched up
so well. These next two pics just show my welds.
Motor Plate
Here are my CAD drawings for the motor plate:
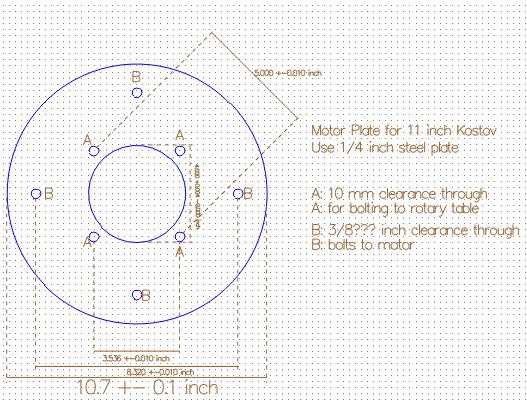
The 4 inch hole in the center of the plate is one of the crucial
dimensions. It fits over a 4 inch centering ring on the electric motor.
If this fit is loose, the motor shaft and clutch won't line up, and may
vibrate or wear the bearings quickly. Once this plate is bolted to the
machining rotary table, it won't be removed until the whole adapter is
done. This will insure that the 4 inch centering hole stays concentric
with the rotary table and other parts of the adapter.
This plate was cut using a plasma cutter, and a cutting guide to cut in
a smooth circle. Here are a couple of pictures right after the plasma
cut:

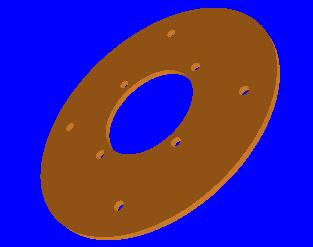
Transmission Plate
CAD drawings:
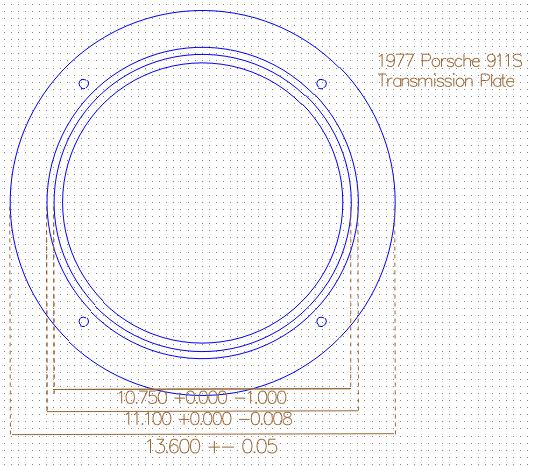

That raised ring is another crucial part. This centers the adapter to
the transmission. This ring will be welded on, and then machined by
turning the rotary table. This will insure this ring is concentric with
the motor plate 4 inch centering hole.
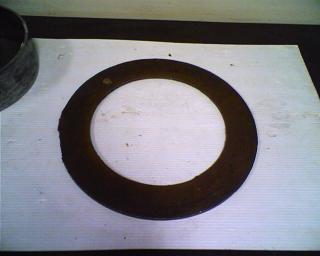
Here is the transmission plate right after being cut from a big steel
plate with a plasma cutter:
Scatter Shield
I haven't done drawings yet, but this will be a 1/4 x 3 inch strip
similar to the spacer. One complication is the starter mount sticks
out, so it will get a special piece to go around it.